Upload Workflow
The upload workflow allows you to bring data into Prevu3D, validate it, and prepare it for processing into the visual representations used across RealityTwin, RealityPlan, RealityConnect, and the 3D Data Viewer.
Accessing the upload workflow
Section titled “Accessing the upload workflow”-
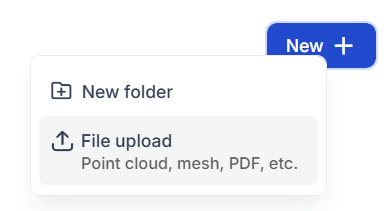
When in a site, use the “New” button on the top right corner
-
Click “File upload”
Choosing What You Want to Upload
Section titled “Choosing What You Want to Upload”The Upload Wizard will open and prompt you to select the type of data you want to import.
You may choose from:
-
Point Cloud
-
Mesh
-
Photogrammetry
-
Other Files
After selecting a data type, you will be asked to provide a name for your data bundle.
This bundle represents all files associated with the dataset and will be used throughout the platform.

Exploring the Upload Wizard Tree
Section titled “Exploring the Upload Wizard Tree”Based on the data type you selected, the wizard will expand and display the files required for that category.
For more details about the expected formats and data requirements, you can refer to the corresponding documentation pages:
These articles explain what each upload type requires and how to prepare your dataset correctly.
.png")
.png")
The wizard dynamically analyzes the selected capture device or data category and will:
-
Request required files
-
Indicate optional files
-
Display recommendations for achieving the best results
-
Adjust parameters internally based on the selected input type
This ensures the upload flow is tailored to your specific dataset.
.png")
Uploading Your Files
Section titled “Uploading Your Files”When ready, drag and drop your files into the upload area or browse to select them from your computer.
Reviewing Files
Section titled “Reviewing Files”Select Review Files to validate the data before upload.
This step checks that:
-
Required files are present
-
File structure and metadata are correct
-
The dataset is ready for processing
.png")
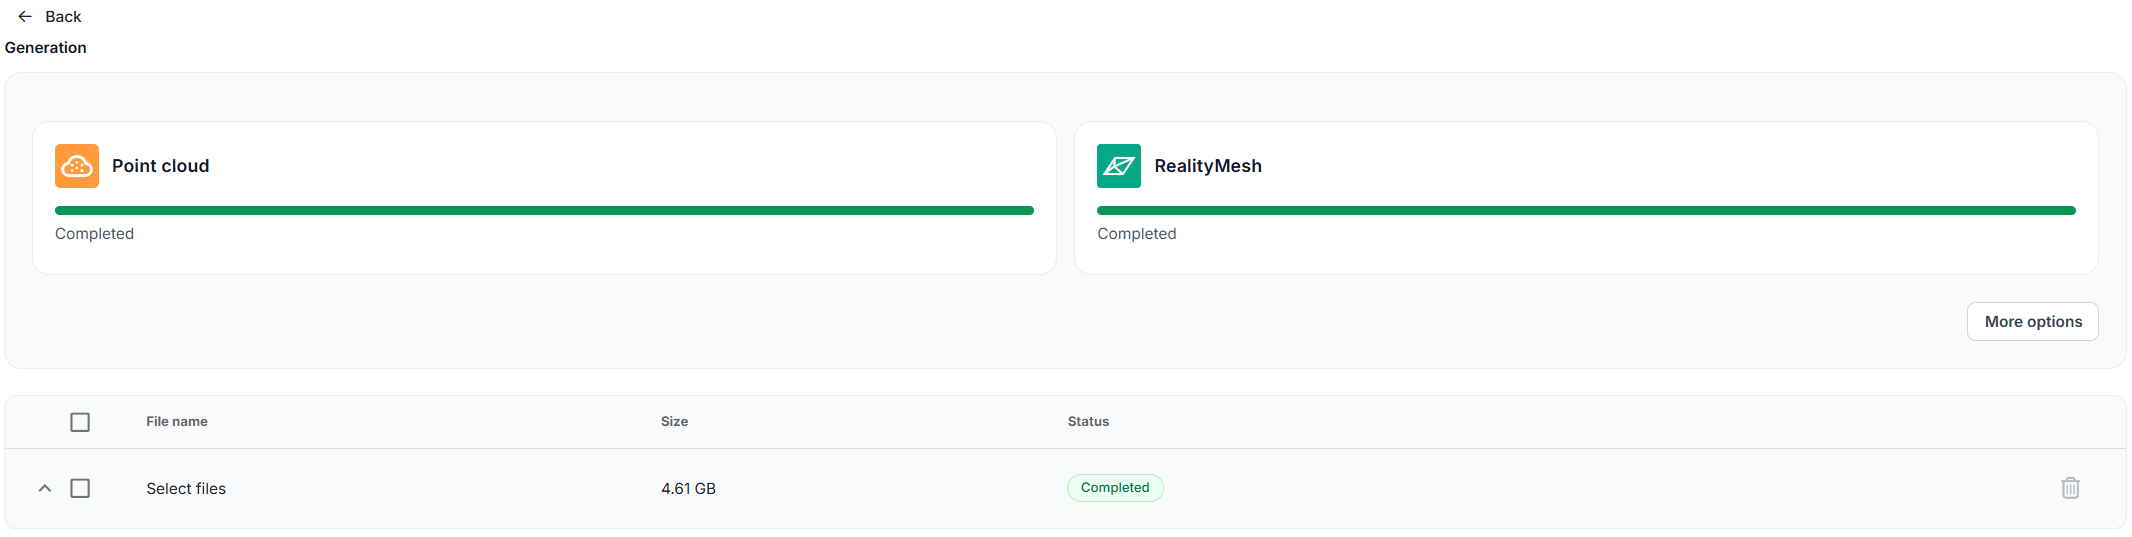
Upload Progress
Section titled “Upload Progress”Wait for the upload to complete.
.png")
Multiple Scan Sessions
Section titled “Multiple Scan Sessions”If your dataset includes multiple scans sessions, you can add additional file sets using the Add Scan option and repeat the steps above.
.png")
Processing Your Data
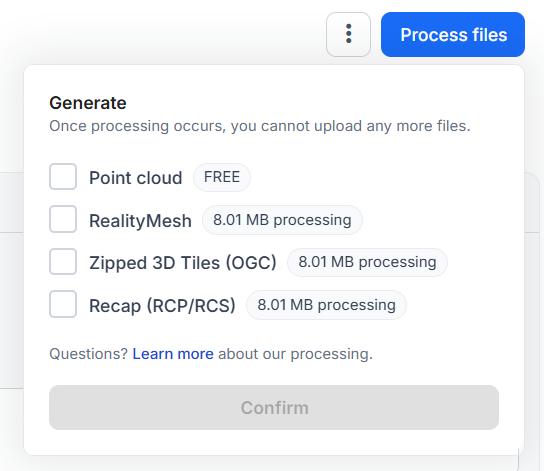
Section titled “Processing Your Data”Once your upload is complete, you can choose which visual representations or artifacts you want to generate from your dataset. Each option has its own processing cost, and you may trigger them at any time.
Examples of supported processing outputs include:
-
Point Cloud visual representation
-
Mesh visual representation
-
Photosphere visual representation
-
3D Tiles (OGC) export
-
RCP (ReCap) export
-
And other derived artifacts supported by Prevu3D
Why processing is required even for point cloud inputs
Section titled “Why processing is required even for point cloud inputs”Regardless of the input type, Prevu3D applies an internal optimization pipeline to prepare your data for efficient visualization inside our products.
This process:
-
Splits the dataset into small, streamable chunks
-
Optimizes loading performance and memory usage
-
Ensures consistent rendering across all Prevu3D applications
-
Allows very large datasets to be viewed smoothly
Because of this, even if you upload a point cloud, a processing step is required to generate the point cloud visual representation used throughout the platform.
Incremental and Multi-Phase Processing
Section titled “Incremental and Multi-Phase Processing”You can process datasets in multiple phases. This allows you to:
-
Validate the quality of your data before investing in heavier processing
-
Only generate the representations you need
-
Avoid unnecessary processing costs if corrections or additional data capture are required
-
Add new outputs later without re-uploading the dataset
This flexible approach ensures that you maintain full control over how and when your data is transformed.
Using the 3D Data Viewer
Section titled “Using the 3D Data Viewer”Once at least one visual representation is ready, you can open the 3D Data Viewer to:
-
Inspect the result
-
Validate capture completeness
-
Confirm data quality
-
Explore the environment before proceeding to design or integration workflows
For more details on available tools and navigation options, refer to the 3D Data Viewer documentation.
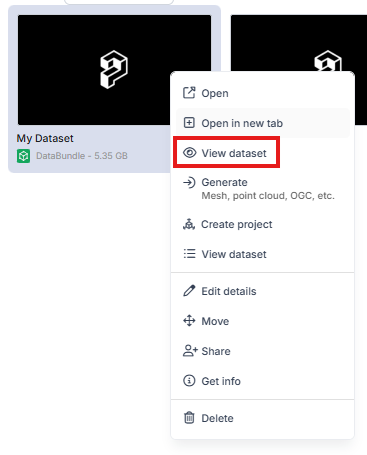
Creating Projects or Importing Into a Twin
Section titled “Creating Projects or Importing Into a Twin”After your data bundle contains at least one processed representation, you may:
- Create a RealityPlan Project to crop, convert, or prepare geometry for design workflows
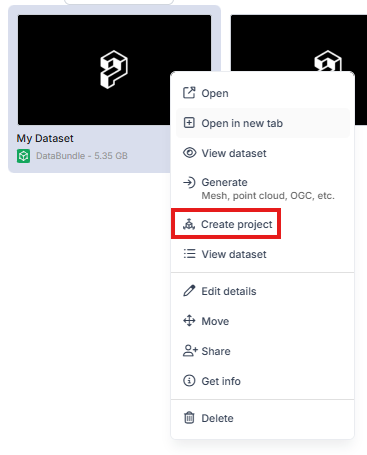
- Import the dataset directly into RealityTwin as a new layer
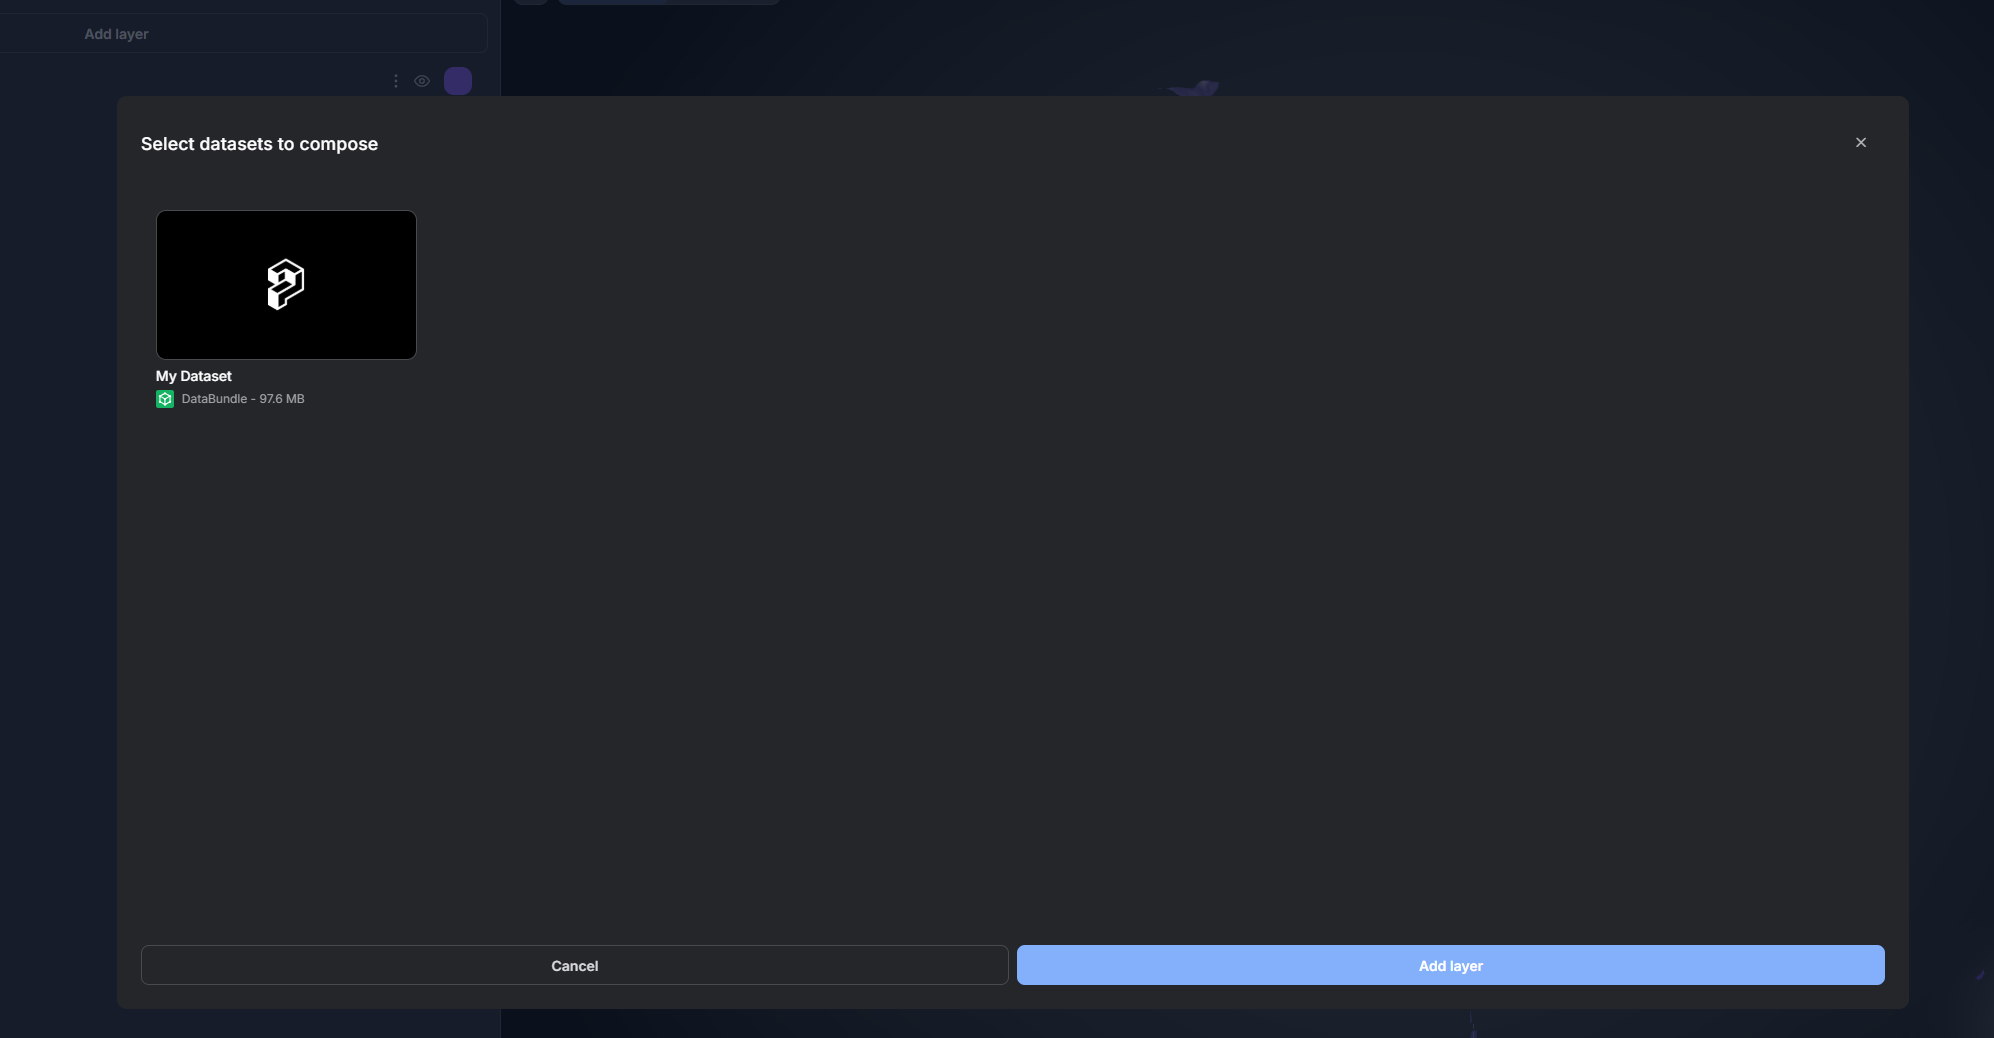
This makes your processed data available across the entire Prevu3D ecosystem.