Uploading and Managing Assets
Upload new 3D models to the Asset Library and manage their status, details, and availability across your organization.
Uploading an Asset
Section titled “Uploading an Asset”To upload a new asset:
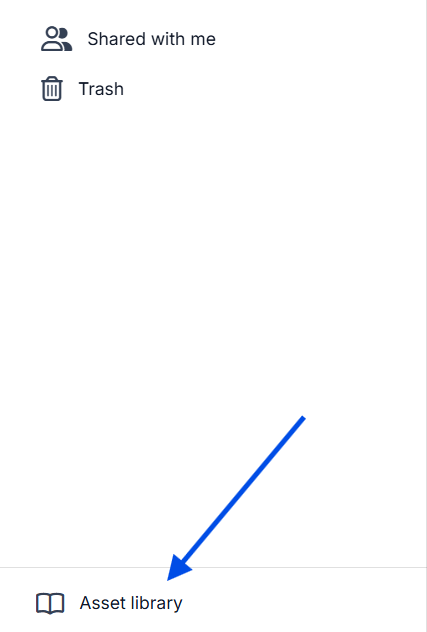
- Open Asset Library in RealityPlatform using the button at the bottom left of the page
-
Click Upload Asset.
-
Select a supported 3D file from your computer.

- Confirm the upload.
After uploading, the asset will appear in the Asset Library while it is processed.
Asset Processing Status
Section titled “Asset Processing Status”Each asset displays a status indicating its availability.
| Status | Description |
|---|---|
| Uploading | The file is currently being uploaded |
| Processing | The asset is being prepared for use |
| Ready | The asset is available to use |
| Failed | Processing failed and the asset cannot be used |
Assets can only be used & viewed once their status is Ready.
Viewing Asset Details
Section titled “Viewing Asset Details”Upon entering the Asset Library, you will see a list of all the assets that you have access to, where you can view:
-
Asset name
-
File type
-
Upload date
-
Creator
-
Processing status
From the details page, you can also preview the asset or edit its settings.
Searching for Assets
Section titled “Searching for Assets”Use the search bar to find assets by name.
If no results match your query, the interface will display No assets found.
Sorting Assets
Section titled “Sorting Assets”Assets can be sorted by:
-
Upload date
-
Creator name
-
Asset name
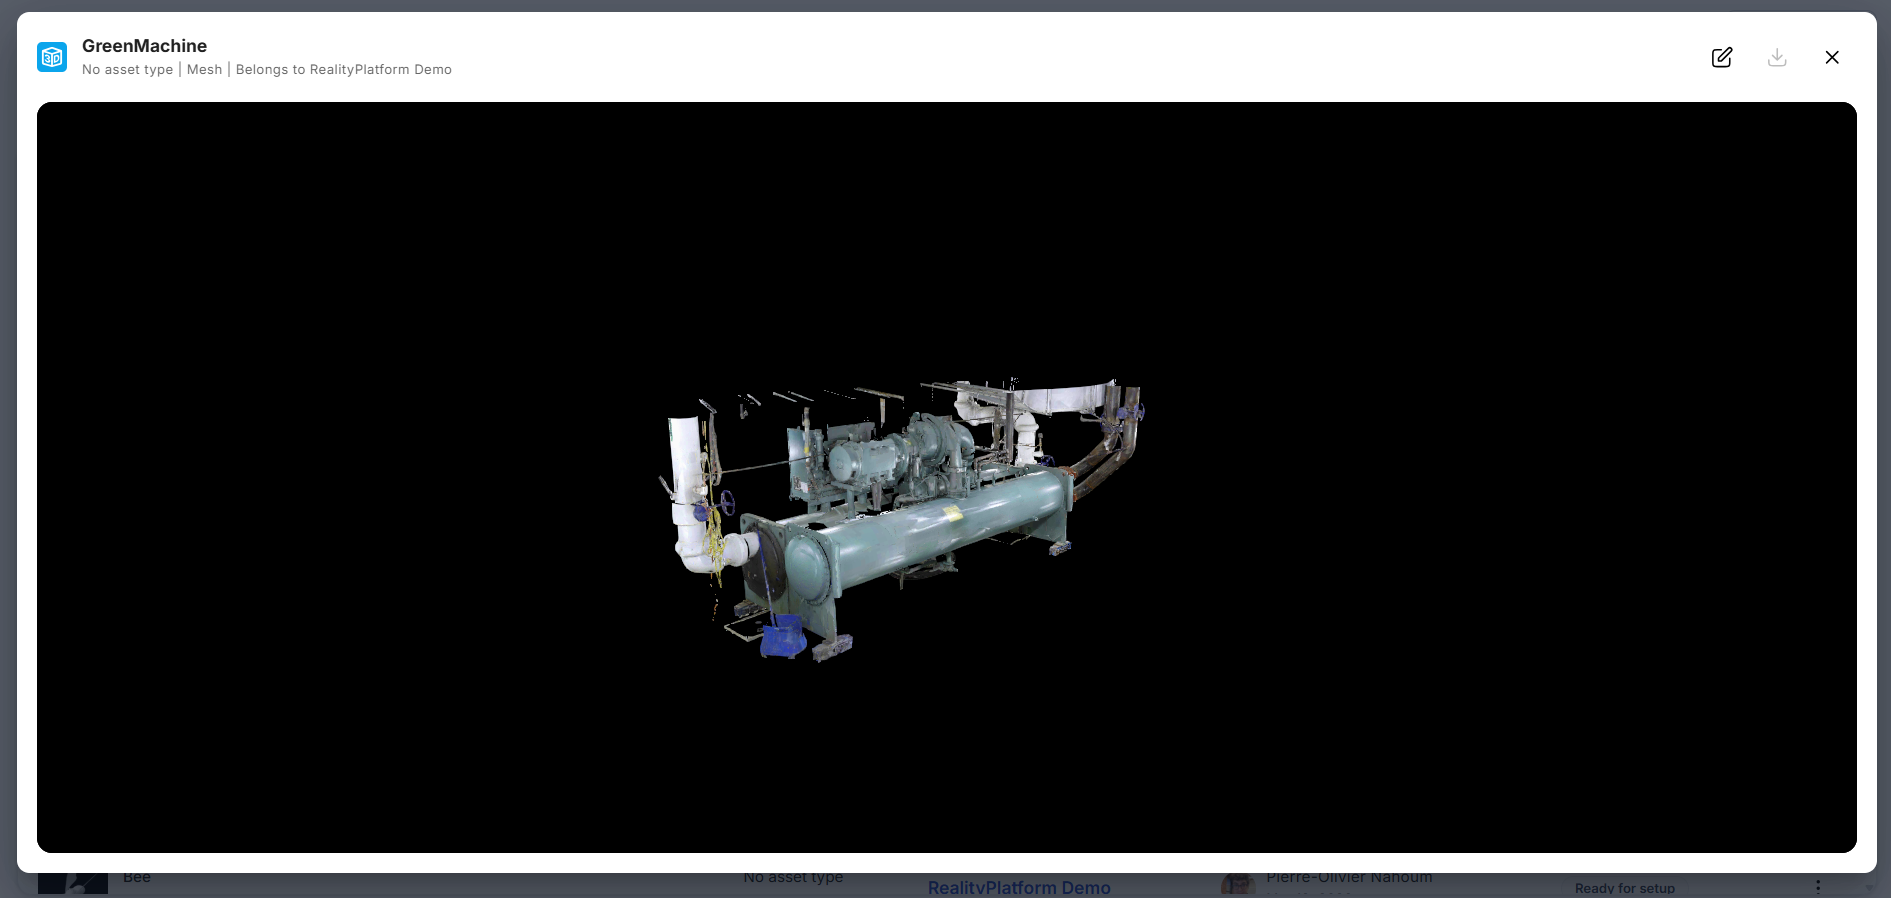
Previewing an Asset
Section titled “Previewing an Asset”Assets can be previewed using the built-in 3D viewer, which allows you to:
-
Orbit around the model
-
Zoom in and out
-
Inspect the asset before using it in a layout
Downloading the Original File
Section titled “Downloading the Original File”Authorized users can download the original uploaded file from the asset details page.
-
Open the asset details or the overflow menu.
-
Click Download original file.
Only the original file is downloadable. Converted versions are not currently available.